Image to 3D Model: Turn Photos into 3D Assets with AI
Image to 3D Model: Turn Photos into 3D Assets with AI (2026 Guide)
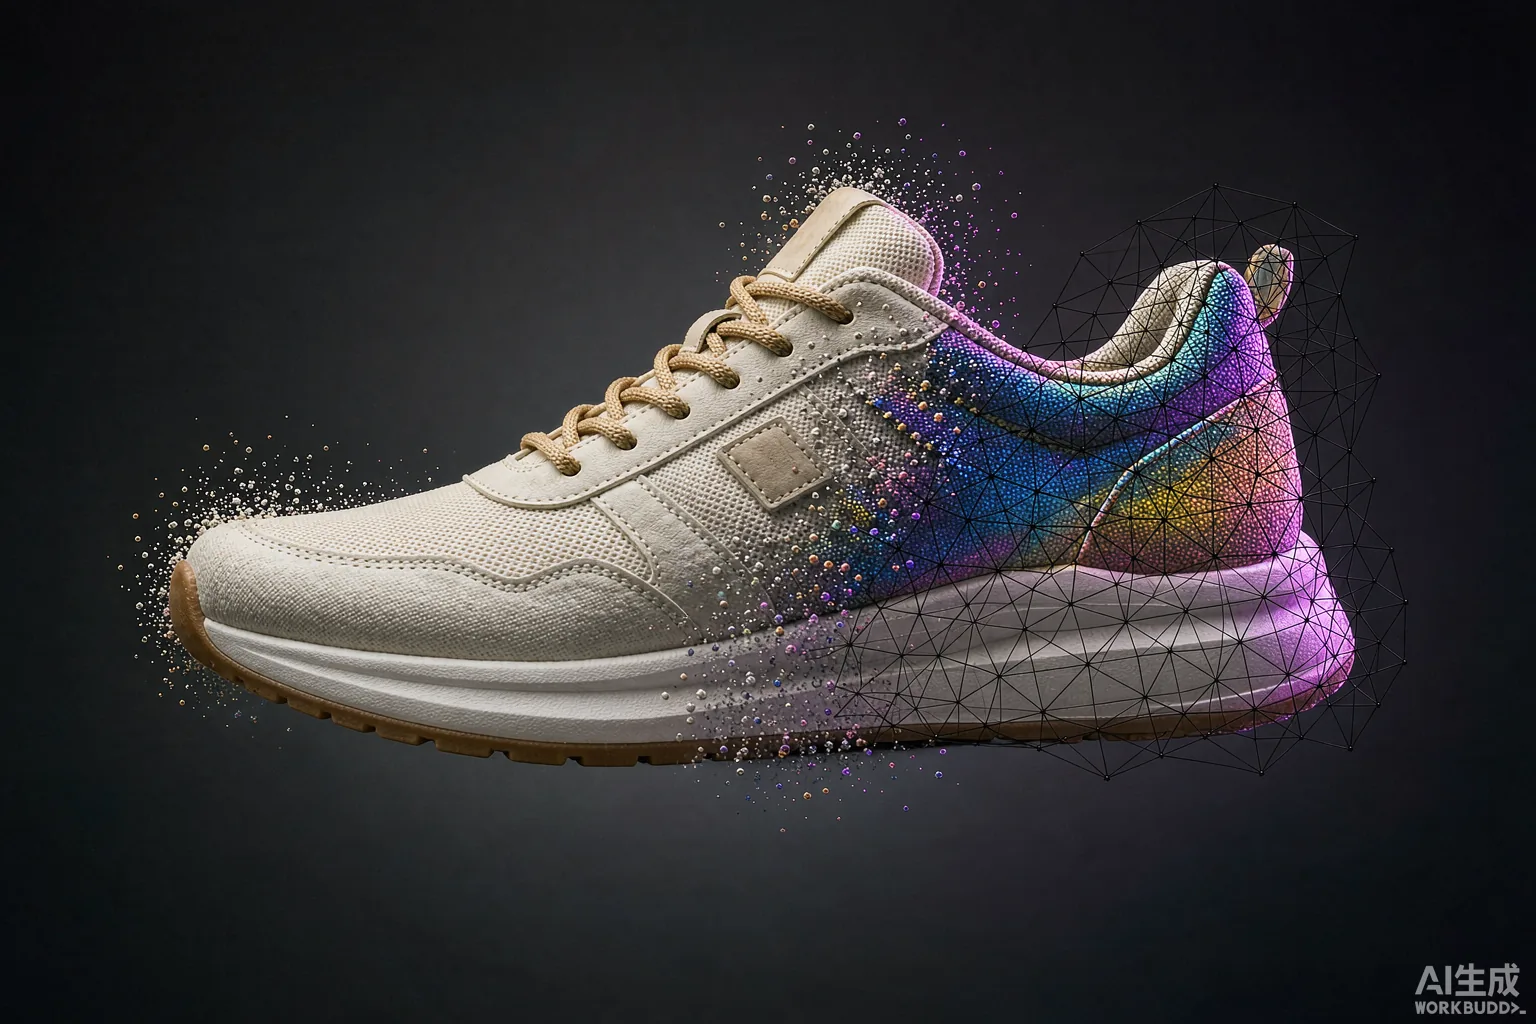
You have a photo — a product shot, a concept sketch, a character drawing — and you need a 3D model of it. Traditionally that meant hiring a modeler for days of reference-matching work. Now image-to-3D AI reconstructs a textured mesh from a single photograph in seconds.
This guide explains how single-image 3D reconstruction works, which photos produce the best models, and how to take the output into games, e-commerce, and 3D printing.
How AI Reconstructs 3D from a Single Photo
Recovering three-dimensional shape from a two-dimensional image is an underconstrained problem — infinitely many 3D shapes match one photo. Modern systems resolve the ambiguity with learned priors:
- Subject segmentation — the system isolates the main object from the background automatically
- Depth estimation — a trained network predicts per-pixel depth from shading, perspective, and learned object priors
- Shape completion — the hidden back side is hallucinated plausibly from what similar objects look like in training data
- Mesh extraction — the depth-plus-prior volume becomes a polygon mesh with clean boundaries
- Texture projection — the source photo is projected onto the mesh as base color, with synthesized coverage for occluded regions
The result: a complete 360° textured model from one viewpoint. Quality on common object categories — products, furniture, characters, vehicles — is now genuinely production-usable for many purposes.
Which Photos Produce the Best Models
Garbage in, garbage out applies strongly here. The input photo determines output quality more than any other factor.
Ideal input photos
- Even, diffuse lighting — overcast outdoor light or softbox studio light; no harsh shadows or blown highlights
- Full object visible — the entire subject in frame with margin on all sides
- Simple background — plain wall, paper sweep, or clean surface; the segmenter's job becomes trivial
- Sharp focus across the object — depth-of-field blur destroys depth estimation
- Three-quarter angle — roughly 30–45° off-axis shows both the front face and side volume, giving the system maximal information
Photos that fail or frustrate
| Problem | Effect on the model |
|---|---|
| Transparent objects (glass) | Depth estimation breaks; expect hollow or melted geometry |
| Reflective surfaces (chrome, gloss) | Reflections get baked into textures as painted features |
| Extreme side angle | Back side is mostly invented; expect flattened shapes |
| Cluttered background | Segmentation may merge background objects into the mesh |
| Multiple separate objects | Usually reconstructed as one fused blob; generate one at a time |
Working from drawings and sketches
Concept art and character illustrations reconstruct surprisingly well because the system treats flat art as a front-view orthographic reference. Style-consistent output follows: a cartoon sketch yields a cartoon-styled mesh, which is exactly what illustrators expanding into 3D want.
The Output: What You Get and Where It Goes
Image-to-3D platforms output GLB — geometry plus PBR-ready textures in one file. From there:
E-commerce and product visualization
This is the killer app. One product photo becomes an interactive 360° viewer embed: drag-to-rotate models lift conversion on product pages, and GLB embeds directly with the <model-viewer> web component. File compactness matters on product pages — a texture-heavy GLB might need compression to hit performance budgets.
Games and real-time apps
Generated meshes need triage before engine import:
- Check triangle count against your budget; decimate if needed
- Verify texture resolution is consistent (some systems output 2K maps regardless of mesh size)
- Normalize scale before parenting into your scene hierarchy
3D printing
A photo-derived model prints like any other mesh after format conversion — slicers don't read GLB, so convert to STL first (full walkthrough in our GLB to STL printing guide). Lithophane-style reliefs and figurine-style reconstructions both print well; hollow or glassy subjects do not.
Step-by-Step: Photo to 3D Model in Under a Minute
- Pick your best photo: even lighting, full object, clean background
- Open our image-to-3d generator
- Upload the photo — no sign-up needed
- Wait a few seconds while the mesh reconstructs
- Preview the result with full rotation — check the back side, which is where quality issues hide
- Download the GLB, or regenerate with a better photo if the back looks wrong
The preview-rotation step is the quality gate most people skip. Front-facing projection always looks decent because the photo carries it; the back side is where you judge whether the reconstruction is actually usable.
Improving Weak Results
"The back of the model is mushy"
Invented geometry reflects training priors, not your subject. Fix by generating a second photo of the object's back and using multi-view input if the platform supports it — or by sculpting plausible simplicity onto the back in Blender (many products genuinely have featureless backs; lean into it).
"The model has a hard edge where the object was cut out"
Segmentation artifacts. Photos where the object's silhouette touches the frame edge cause this; re-shoot with margin around the subject.
"Colors are washed out"
The projection baked in lighting. Re-shoot in flatter light, or normalize the photo first (reduce contrast, desaturate shadows slightly) so illumination reads as color rather than shading.
"The mesh is millions of triangles"
Dense reconstruction is the default because it preserves detail. Decimate toward your use case: 50–100k for web viewers, 5–20k for mobile AR, 1–5k for distant game props — or compress the whole package with 3D compression to shrink file size without touching the viewport.
Frequently Asked Questions
How accurate are image-to-3D models?
Front-facing geometry closely matches the photo; hidden surfaces are plausible inventions. For visualization, marketing, and entertainment this is fine. For engineering dimensions, it is not — photogrammetry from many angles or laser scanning remains the accuracy path.
Can I use generated models commercially?
On our platform, yes — generated assets carry commercial usage rights. Check terms on whichever platform you use; some free tiers restrict commercial use.
Does it work with phone photos?
Yes, with caveats: shoot in good diffuse light, tap-to-focus on the object, and avoid portrait mode's artificial background blur. Modern phone cameras on a cloudy day produce perfectly usable inputs.
What's better: one photo or photogrammetry?
Different tools for different jobs. Photogrammetry (dozens of photos) yields metrically accurate models but demands capture discipline and processing time. Single-image AI trades accuracy for instant, zero-friction results — often the better trade for web and marketing assets.
Which formats can I export to?
GLB comes standard and covers web, engines, and AR. From there convert freely: STL for printing, FBX for legacy DCC pipelines, OBJ for universal compatibility — all in the browser with our 3D converter.
Turn Your Photo Into a Model
Grab a product shot or character drawing and see for yourself: try image-to-3d free — seconds per model, no sign-up, GLB download.